Friday, January 18, 2013

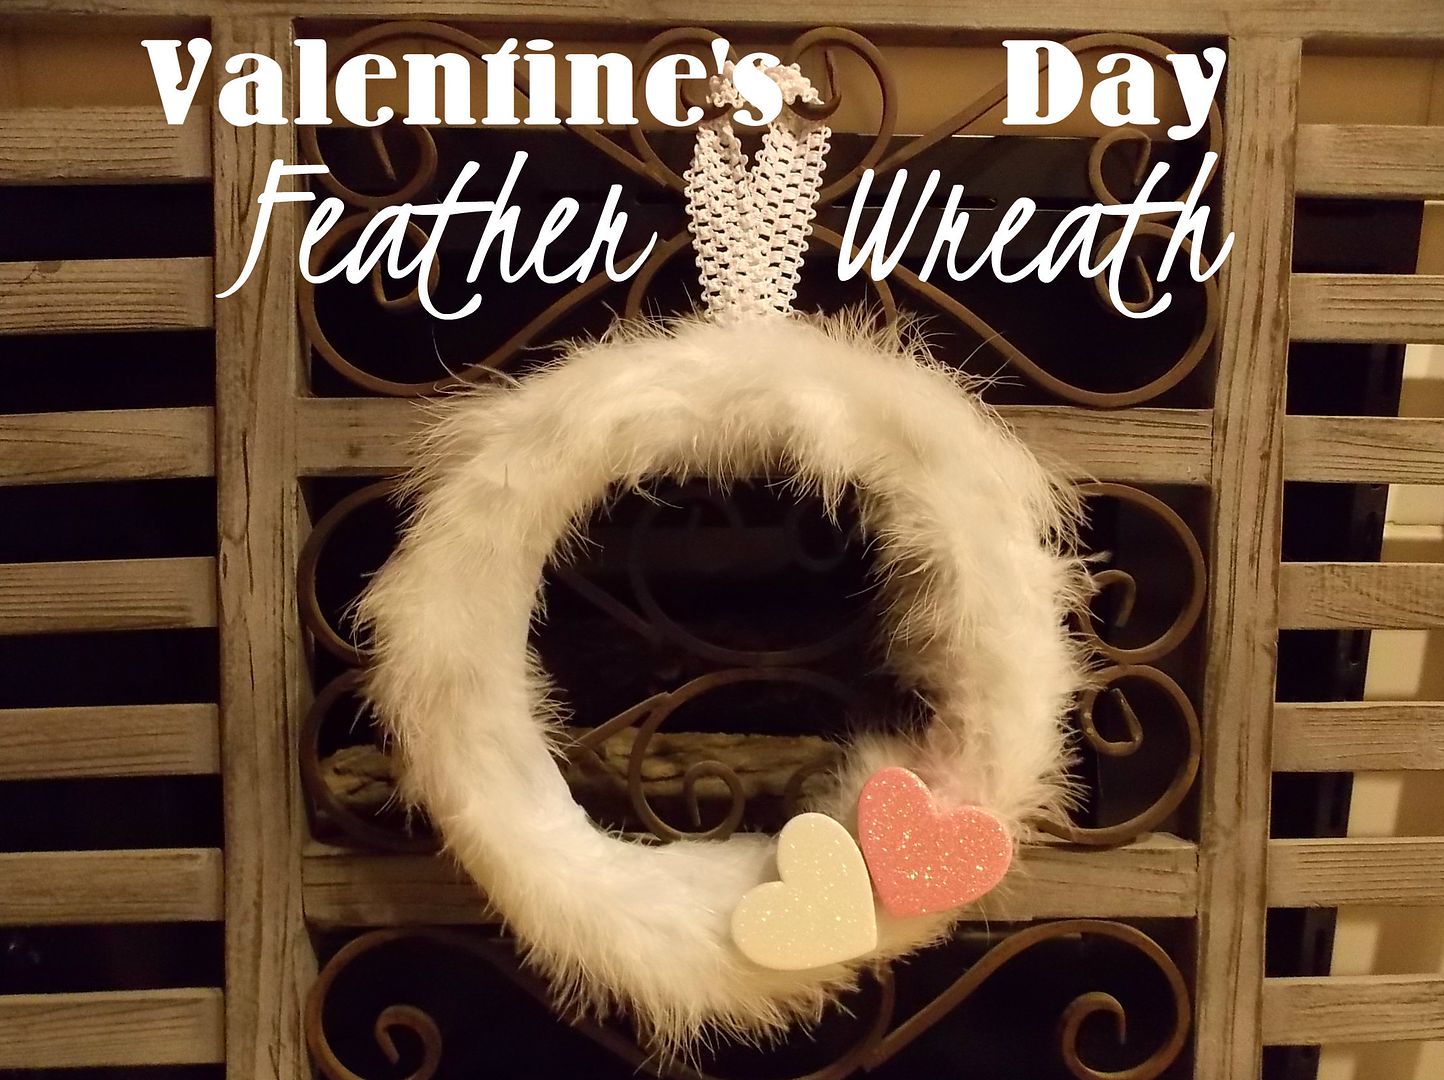
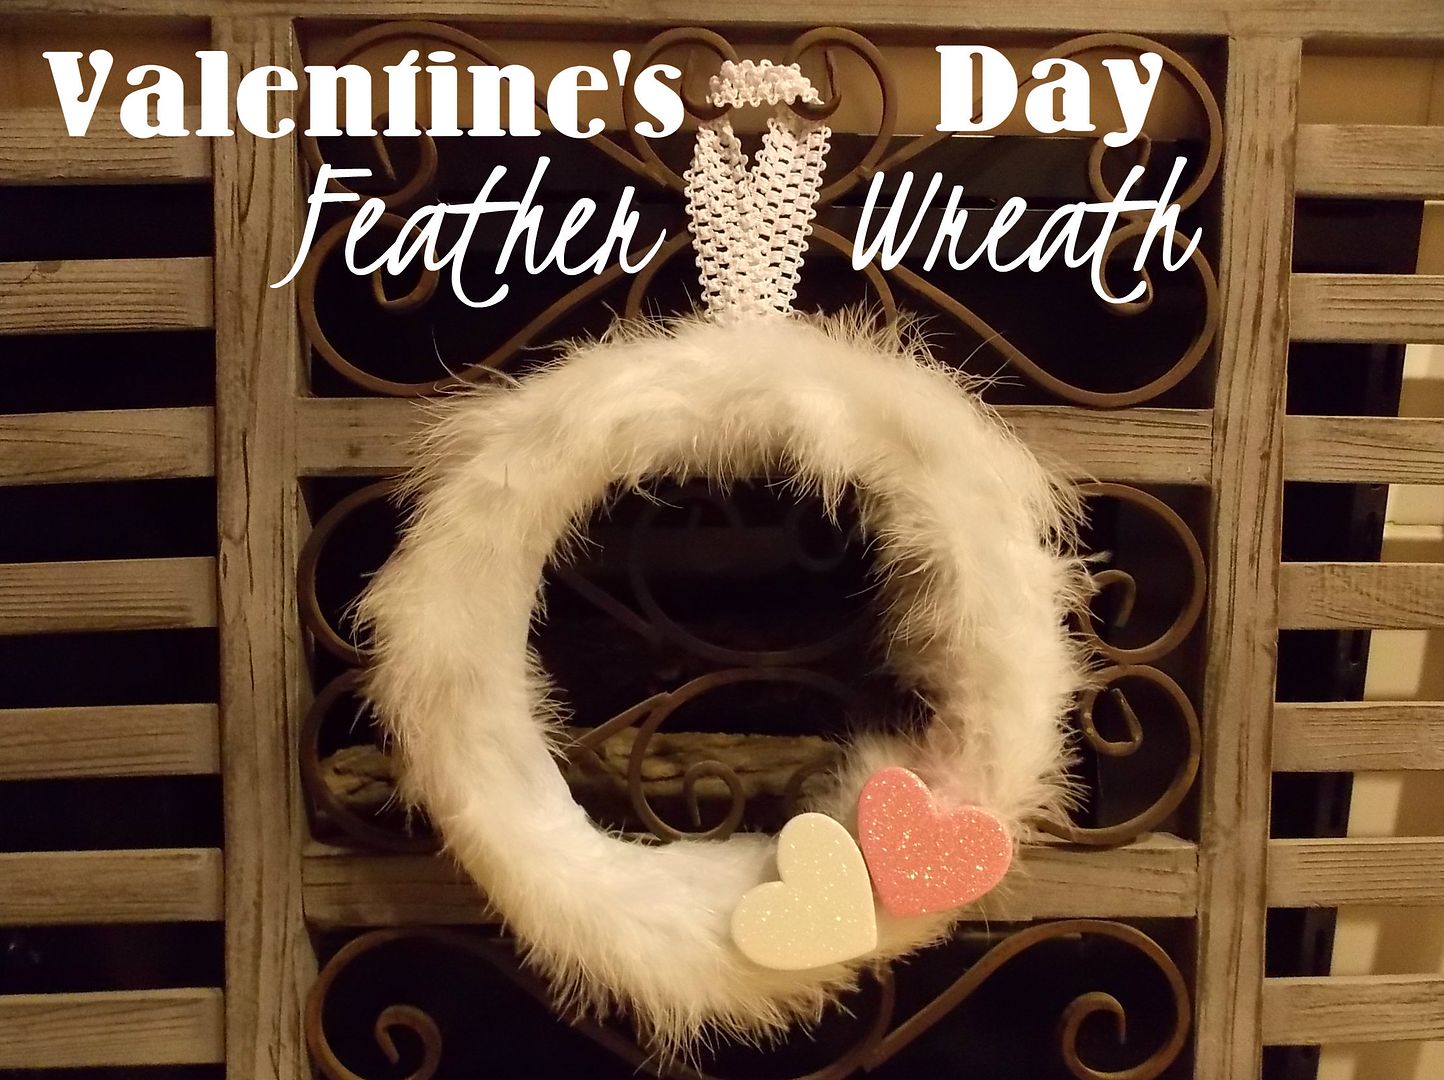
Valentine's Day Feather Wreath


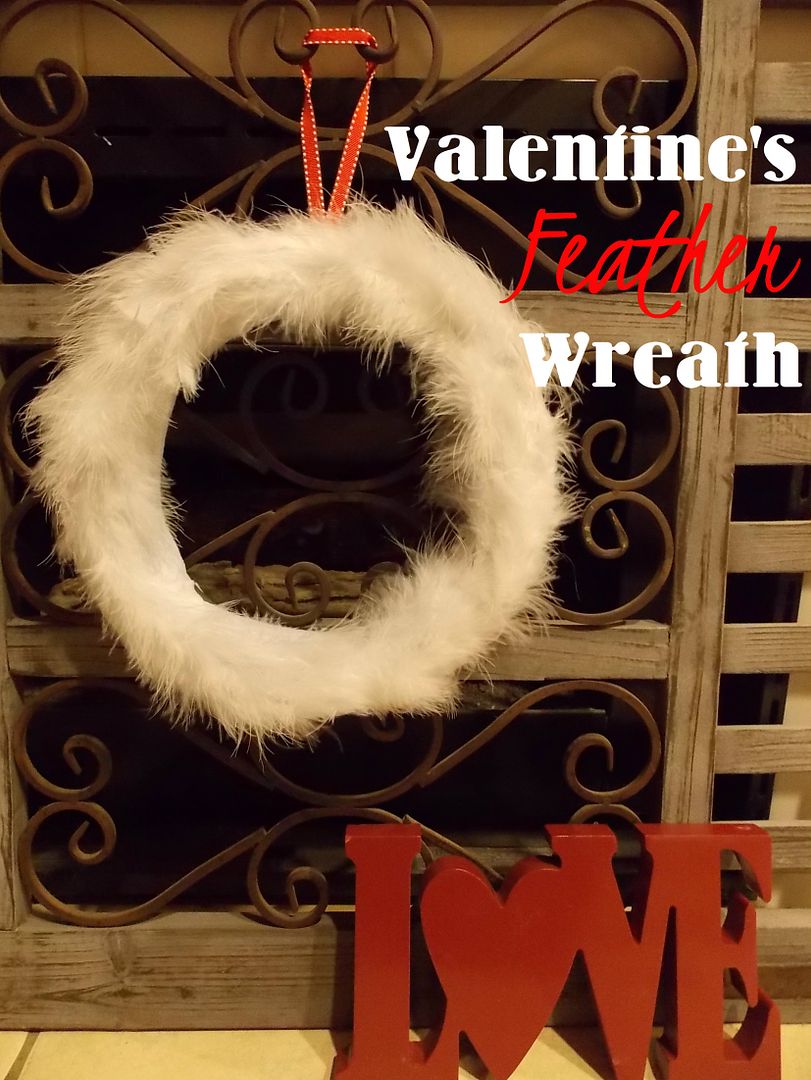
This year I wanted something fun and soft to add to my Valentine's Day decor - and I think I found it in this feather wreath!


I actually love that the wreath is furry! It adds some whimsy to my Valentine's mini mantel display and would be a fun addition to any door! Here is how I made it:

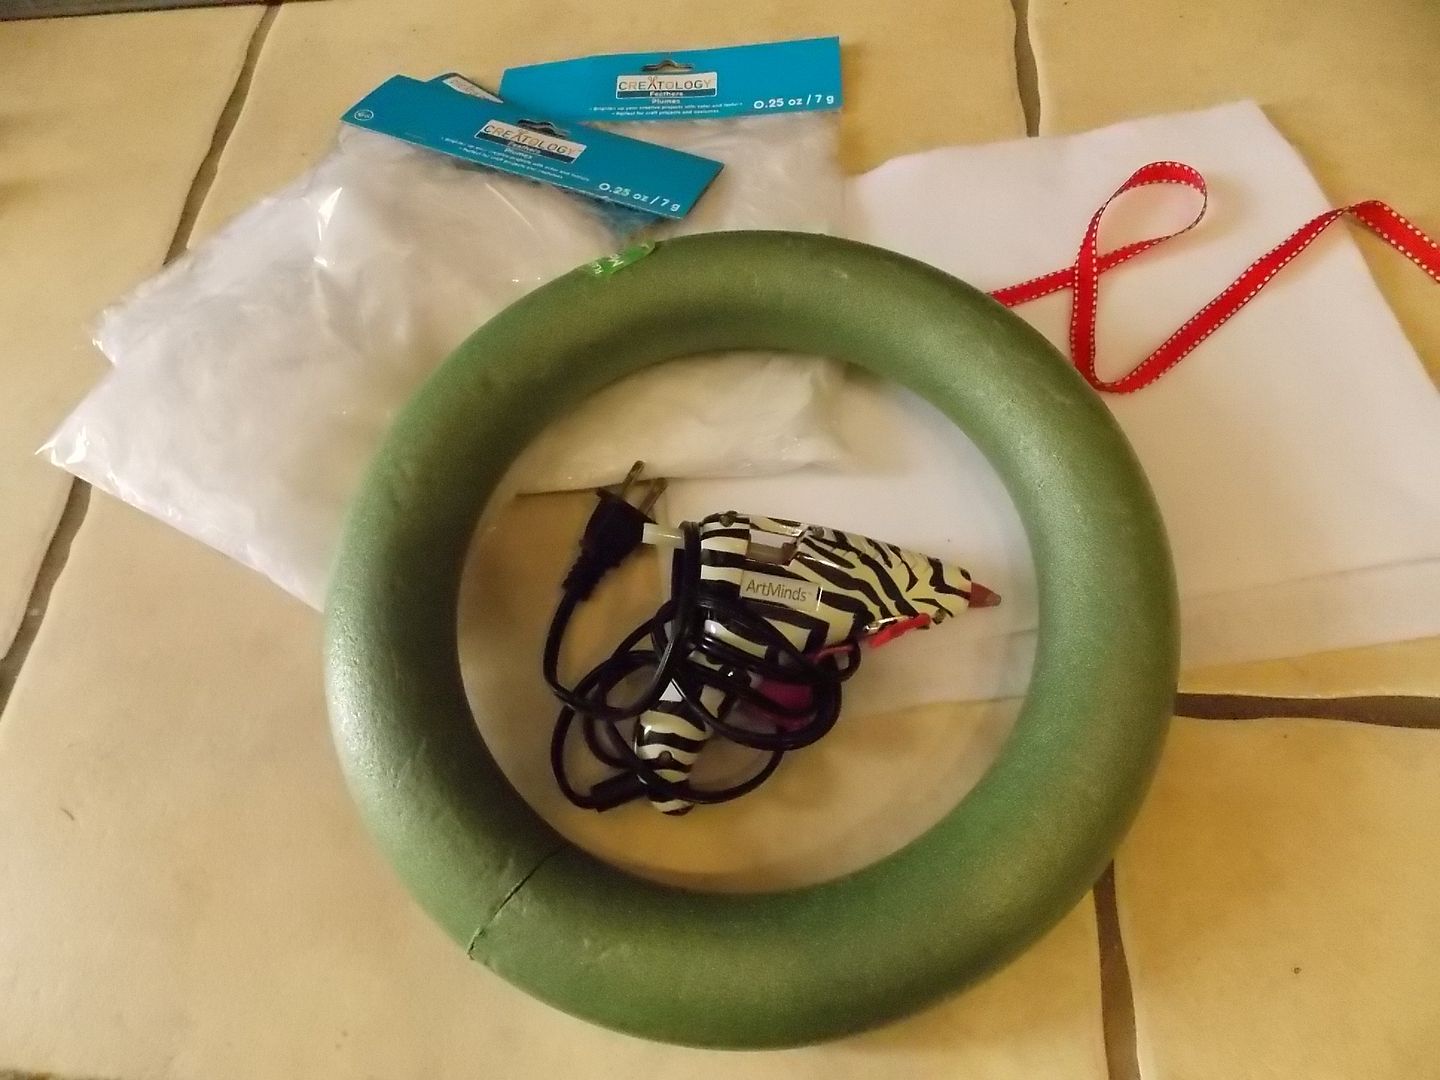
SUPPLIES:
-wreath form
-feathers (I bought 3 bags at Michaels)
-felt (or spray paint - I liked the soft felt - it made the feathers stick easily!)
-glue
-ribbon
-embelishments


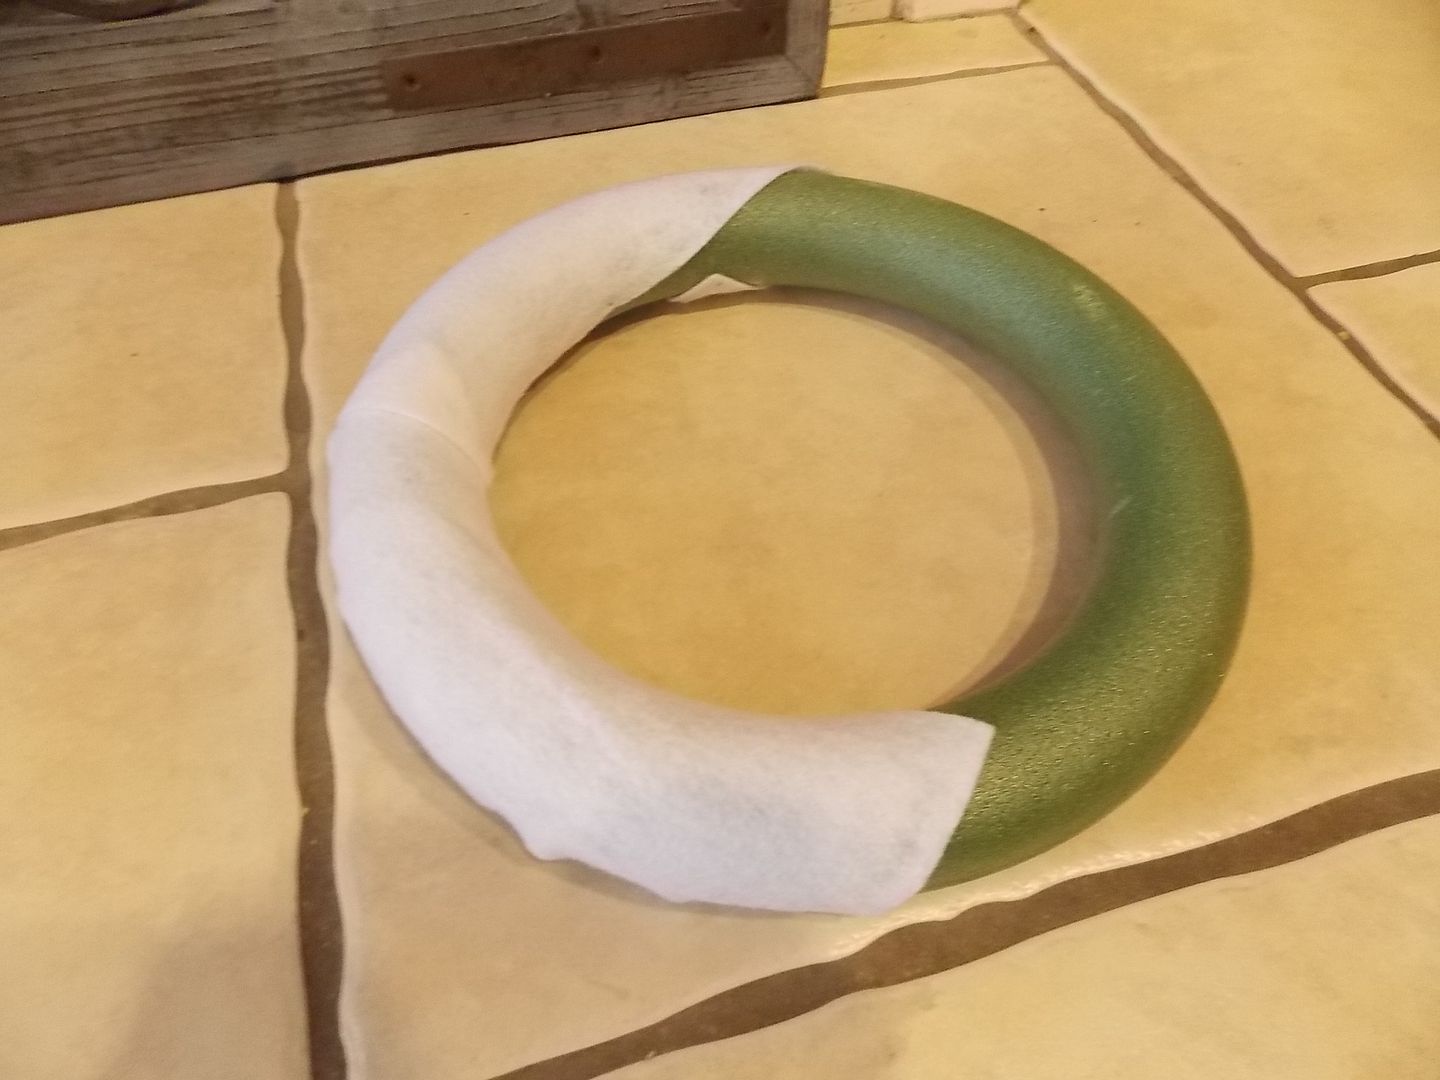
First, I hot glued and wrapped the wreath with felt, because that's what I had. But you could easily spray paint the wreath whatever color you like.
 
 
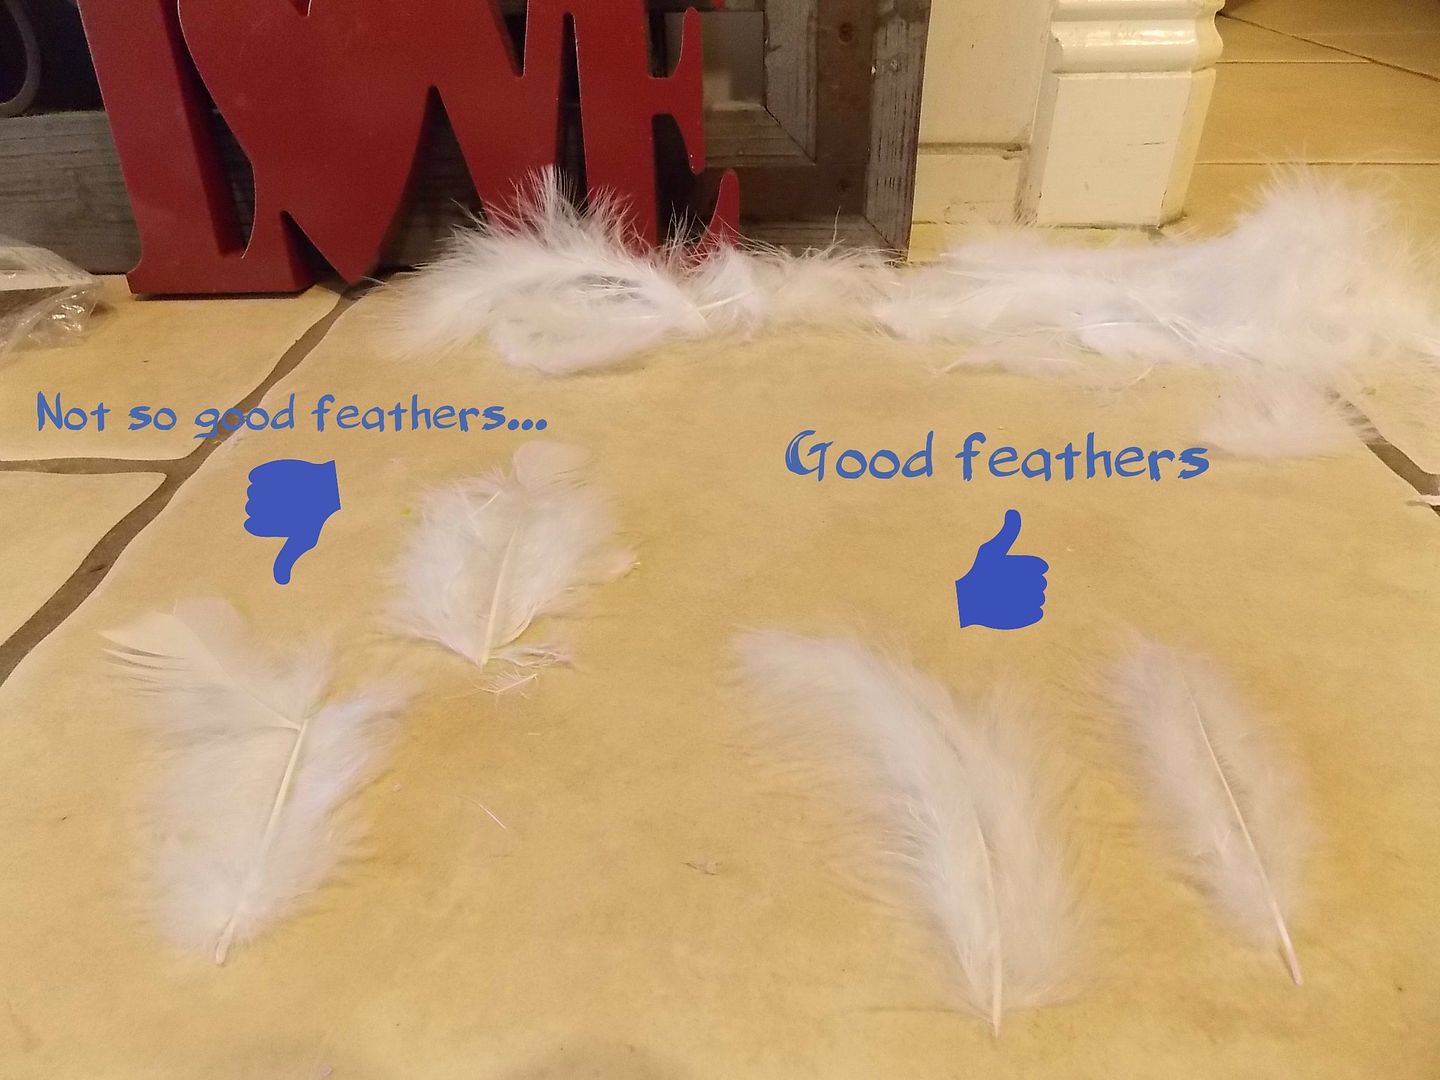
After the wreath was covered in felt I started gluing on the feathers. I'm pretty sure I overthought this part, but I layed the feathers out first to make sure I got decent covereage and that they layed nicely around each other.
 
 
Yes, I even overthought my feather choices...
 
 
No broken feathers for this wreath! Only nice fluffy ones! Who knew there were so many choices with feathers? It only takes one bag to cover the wreath, but I used all 3 because I only used the fullest feathers from each bag. (Why, yes, that does make for a lot of extra feathers left over. In case you were wondering.)
 
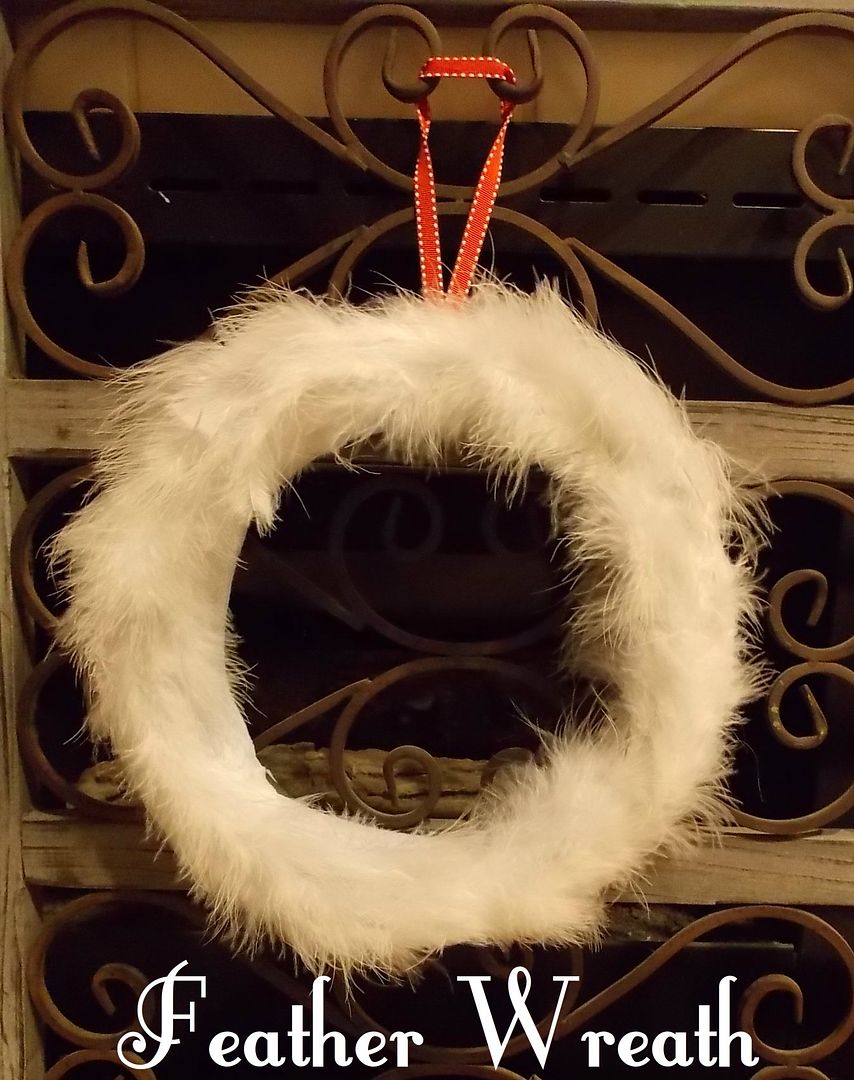
Here is the final result! It was worth ruffling all those feathers to get this fun and whimsical wreath!!


Now... what to do with all those extra feathers!! Any ideas??
 
And, I know you have ALL been waiting to hear the announcement of the Mark Montano book giveaway!! The lucky winner is:
 
Donna Ingalls
For following Shaped by Grace's blog!
 
Congratulations Donna!!! Please email me at reannahelizabeth {at} gmail {dot} com with 48 hours to claim your prize!!
 
Don't forget you have another winning opportunity with the Love Our Disney giveaway going on right now!! Click here to enter!! Good Luck!!
 
I'm sharing this wreath here! Thanks for stopping by!


Tuesday, January 15, 2013

{Guest Post} Love our Disney and a Disney themed Giveaway!!

I'm so excited today to share one of my new favorite blogs and blog friends! I am a HUGE Disney fan and when I saw Becca's blog "Love Our Disney" I was an immediate fan -- and I know you will be too! Today Becca is sharing a fun Disney craft AND a giveaway! Isn't she awesome? Thanks Becca!

Thank you so much to Reannah for letting me come share this fun craft!
My
family is a bunch of Disney fanatics, and we have been taking trips
twice a year for the last two years. My son, The Goof, has been talking

about our October trip non-stop since we returned. Not a day goes by
that he doesn’t bring it up. So, I wanted to make him something special
for his room to commemorate the trip.


For this craft you will need
         a wood plaque (range from $1-$3 at Hobby Lobby)
         Wood Letters
         Paint (I used red, yellow, and a little black)
         Paint Brushes
         Mod Podge (I fell in love with the spray kind for this project)
         Picture

First, print your picture (or print it at your local store’s photo lab) in the size needed to fit on your plaque.
TIP:
If you are planning a trip to Disney I strongly suggest you take a
picture of your child ALONE with their favorite character. Luckily, I
have photo editing experience, but it took 3 hours to fix this mistake
that could have been avoided if I would have caught a picture of The
Goof and Mickey alone while at the park.


Once
you have your picture- paint your plaque. Choose a color that is in the
picture, but not the main focus. I chose red to match Mickey’s pants.
Paint the wood letters as well. For those I chose yellow to match
Mickey’s bow tie.


When I was painting, I had what I thought was an awesome idea…paint the
edges black. Well, I got paint on the front of the plaque. So then I
thought “I will distress the edges of the front.” Sounds cute right?
NOPE! It looked awful. I was in such a hurry to fix my mistake I forgot
to get a picture of how horrid it looked. Oh well! So it took 3 coats to
cover up the black and make the red look good, but my mistake did add a
nice grain to the plaque that you can see a bit of in the picture
above.

Once
all the paint is dry, take your letters and pictures and lay them out
to make sure you know where everything needs to be placed. Trim your
photo if needed.

Take the plaque (without the letters/photo on it) and use mod podge to coat it, and then attach the photo. Let it dry.


Now go find something to entertain yourself. You know the saying a watched pot never boils? Well, watched mod podge never dries. So find something to do while you wait for it to dry.

Once the mod podge is dry, go over the top of the photo and plaque with a second coat of mod podge.
I personally always screw up this part. No matter how dry my first coat
is, when I put on the second coat, my photo bubbles. Enter- Mod Podge Spray!!!! This saved me. I simply sprayed on a light coat and no bubbling!!!!!

Now,
it is time to attach the letters. I used my handy dandy E 6000 glue. It
worked great! Wood glue would probably be another great option. Be sure
to lay out all the letters to make sure they are how you want them,
then pick them up one by one and glue them on and put them back in
place.

To finish it off, I used some seal coat spray that I had and put 3 light coats on.


Walla! Now you have a cute wall hanging to remember your trip or special memory!

Thanks to Reannah for letting me share this, and for being part of the special event we have this month on my site, Love Our Disney. For Reannah’s (and other participants readers)
I am excited to have this giveaway! Enter below to win a first place
prize of a $50 Visa Gift Card, 2 Mickey or Minnie Mouse t-shirts (made
by me-like the ones the adults are wearing in the original Mickey
picture) in the sizes of your choice, and a Disney Greatest hits CD. If
you don’t win that, maybe you will win the second place prize of a
Disney Greatest Hits CD and a $25 Disney Gift Card.

(Winner will have 1 week to claim their prize or a new winner will be chosen. See terms and conditions for restrictions)


a Rafflecopter giveaway

Thursday, January 3, 2013

Personalized Valentine's Day Fortune Cookies

Is it really time to think about Valentine's Day already? I'm still enjoying the aftermath of Christmas - and enjoying our last few days of vacation before school starts! How about you?


Today,  I am sharing a creative Valentine's food activity I thought would be a perfect little treat for you to surprise your kids or someone special! (I shared this last Valentine's Day on Mess for Less, so I'm excited to share it here now too!)

Just a hint -- there is more to these fortune cookies than meets the eye… {wink!}


I love making special treats for my kids around the holidays and this easy snack is one of my favorites! So first, I set the stage for what looked like just a simple Valentine's day treat -- Strawberry milk and fortune cookies.


IMG_0796


Then I let my boys open up their surprise fortune cookies:

JanuaryBlog2

JanuaryBlog3


What was the secret inside? Their own personalized fortune!

IMG_0781


To make this whole treat, you will need:
-STRAWBERRY MILK: 8oz. Milk + 1 Tbs Strawberry Mix = Pink Strawberry milk!!

-FORTUNE COOKIES:
  -1 package of Fortune Cookies
  - paper towels
  - notes (pre printed or hand written!)


IMG_0772


Personalized Fortune Cookies step-by-step:

1. Wrap one fortune cookie in a WET paper towel and microwave for 30 seconds.

IMG_0783


2. IMMEDIATELY take the fortune cookie out of the microwave, unwrap from the paper towel,{Usually after 30 seconds things aren’t too hot, but be careful if you do this multiple times!} and GENTLY open up the fortune cookie just enough to pull out the original fortune.


3. Take out the old fortune and put in YOUR personalized fortune!

IMG_0782


4. Fold the fortune cookie carefully back into it’s original shape and hold while it cools and re-hardens. {They literally take SECONDS to cool which is perfect if little hands want to help! As soon as you remove things from the microwave your kids can help shape and hold the cookie – unless you’re surprising them like I did!} :) FYI: Since they cool so fast, so I started out microwaving one cookie at a time. I got up to 3 cookies at a time once I got in the routine. You could make more if you had help! :)

IMG_0784


IMG_0785


Can you see my brand new fortune peeking through?

IMG_0786


Because they cool so quickly, as soon as you are done making all your fortunes, you can enjoy your treat! To make this snack more festive I wrapped glass bottles with some cute Valentine printables…

IMG_0794


…poured in the strawberry milk, and voilà! An instant Valentine’s snack that literally took just a few minutes to make!

IMG_0796


To save you even more time, I’ve added the bottle wrappers and some premade fortunes here for you – for free!  Just right click on the image below to save, print and enjoy!

Slide1

IMG_0776
IMG_0778


Are you ready to make your own? Have fun and thanks so much for reading! With this treat you are sure to have one fortunate little Valentine! xoxo


One fortunate reader will also win one copy of Mark Montano's new book of bling! Click here to enter!

Wednesday, January 2, 2013

Mark Montano Book Giveaway!!

Woohoo! Let's start the new year off right with a giveaway!

I'm so, so, SO excited to offer you this giveaway today!

Some of you may remember when I went to the So Cal Blog Social. It was there that I got to hang out with some old and new blog friends and we all got to meet and hear Mark Montano speak! He was lots of fun, shared about himself and growing as a craft guru and was an all around nice guy. He was even kind enough to see my friends and I eating lunch and sit and chat with us for a while!


As you can see - I was super excited to meet him! And I was even more excited to get a (SIGNED) copy of his book! So, when the opportunity came up to give away one of his books -- I jumped at the chance! I'm so thankful that Mark chose my blog as one of the blogs who got to give away his book. And not just any book! His NEW book -- "The Big Ass Book of Bling" - full of some amazing crafts!!


Here are just a few pictures of all the awesome projects found inside his book of BLING:


 I LOVE that shrug with ruffles (the shruffle) and the pearl cuff! There are so many great project ideas in his book that it was hard to choose only a couple to highlight here!


But, that's no surprise -- when you meet someone this fun - you know their book is going to be a lot of fun too!!


 Thank you again to Mark for allowing me this opportunity to give away his book on my blog and for sharing his gift of crafting with my readers!! Good luck everyone!!
 
So let's get started! One lucky winner will get your very own copy of the "Big Ass Book of Bling!"


Ready, set, go!!


a Rafflecopter giveaway

Related Posts Plugin for WordPress, Blogger...